Wooden Floor Restoration in Ulverston
Joe from Ulverston contacted me about sanding and polishing his original pine floorboards. I had previously worked on projects for his father and sister and I was more than happy to help on this new project.
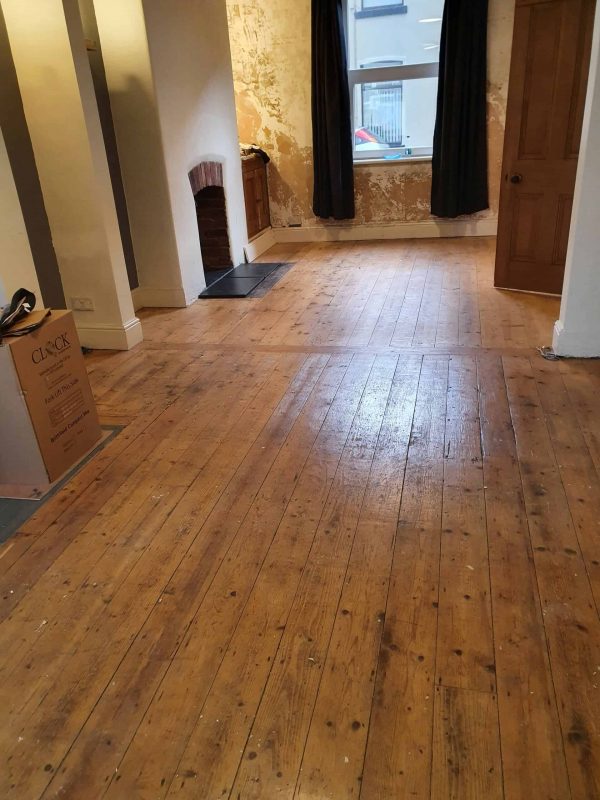
The floorboards were in really good physical condition. No real damage. In many ways a straightforward sanding and refinishing project. I spoke to Joe in-depth about the final look he was hoping to achieve. Joe wanted to have the pine flooring kept nice and light. Without any yellows or orange tones. If you have ever applied wood products to pine you will understand the colours he did not want. More on the finishing product in a few minutes. Let’s take a look at what I faced on day 1.
How to restore old wooden floorboards
There are plenty of articles and websites dealing with how to sand a floor without hiring a professional company. You can read our own 3 part guide here. There is a really popular site online that I’m sure is just wanting traffic to gain £££ from advertising revenue. That website is https://www.littlehouseonthecorner.com/diy-guide-professionally-sand-wooden-floors-floorboards/
I don’t agree with plenty they have written and in fact, they give a false representation of what can be achieved with DIY sanding. They use this quote, “Having had some of our floors professionally done and having done some by ourselves, we can happily say that there is absolutely no difference.” Massively misrepresenting our industry. There are some companies that do provide a service that is of DIY quality. However, most of our industry provides exceptionally high-quality finishes. We use products that you won’t find in B&Q or other retail outlets. It also takes experience to learn the skill set to apply the finishes correctly. I’ve attempted to contact them about this statement but they refuse to respond. Read what you will into that. Back to floor sanding.
First up is making sure all the nail heads are sunk and won’t cause any issues with the belt sander or indeed create visual problems on the wood floors. Initially, you want to focus on levelling the boards. These old floorboards will have perhaps cupped or warped in different directions. A good 15-degree angle on the big sanding machine takes care of this stage. Then it is back with the grain to remove those cross-grain marks made by cutting at an angle. The sanding process is repeated through a number of grits. We call it the grit sequence. There isn’t a single size fits all and the condition of each floor determines the grit sequence.
The edges are taken care of with a couple of additional machines. Importantly you want to match up the grit sequence between the belt sander and the edging machines. Always do your last edging sanding after the belt machine is packed away.
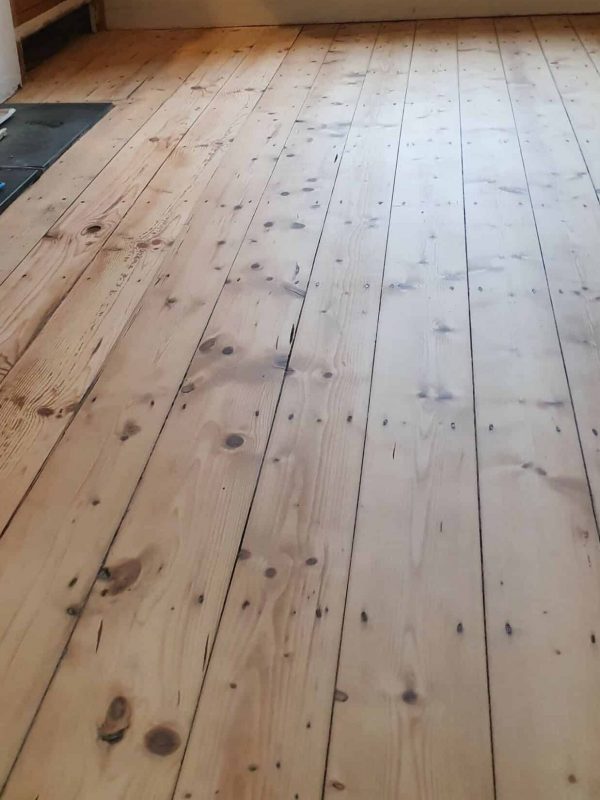
Finally, a finishing sanding machine is used. This blends the abrasive pattern left by the belt machine and edging machines so there isn’t any picture framing around the room. The finishing sanding removes any imperfections left by the belt machine. Each stage of the floor sanding is really important and skipping a single stage will cause chaos. It just is not worth it. Take a look at photo showing the floorboards after final sanding and ready for the varnish (lacquer) to be applied.
Varnishing floorboards
I gave some thought to the final look that Joe wanted to achieve. I decided to use Loba Invisible 2K. This is a polyurethane water-based lacquer. A very different product to the likes of Ronseal wooden floor varnish. No primer is required and you apply the product directly onto the floorboards. I also added a whitener additive to each coat to make sure that the orange and yellow tones were held back. The final coat was carried out on the final day. Another vital stage is to do some intermediate sanding before the final coat of lacquer is applied. This removes any grain raise from the lacquer already applied. When water is applied to wood the grain rises up and it can be a bit rougher. The intermediate sanding is usually carried out at around 150g with a lighter rotary machine. You don’t want to sand off the lacquer already applied, just smooth out the surface ready for the final coat. Once applied the final coat was left to dry. I popped back the following morning to check up on it. Results speak for themselves and the criteria set by Joe was completed.
